When a pipe freezes and bursts, the clock starts. Water moves fast, and so does damage. In the first hour, small decisions prevent thousands of dollars in repairs, mold growth, and insurance headaches. This guide gives you a clear plan for what to do now, why it works, and when to call a pro in water damage restoration. Keep calm, follow the steps, and protect your home, tenants, listings, or business.
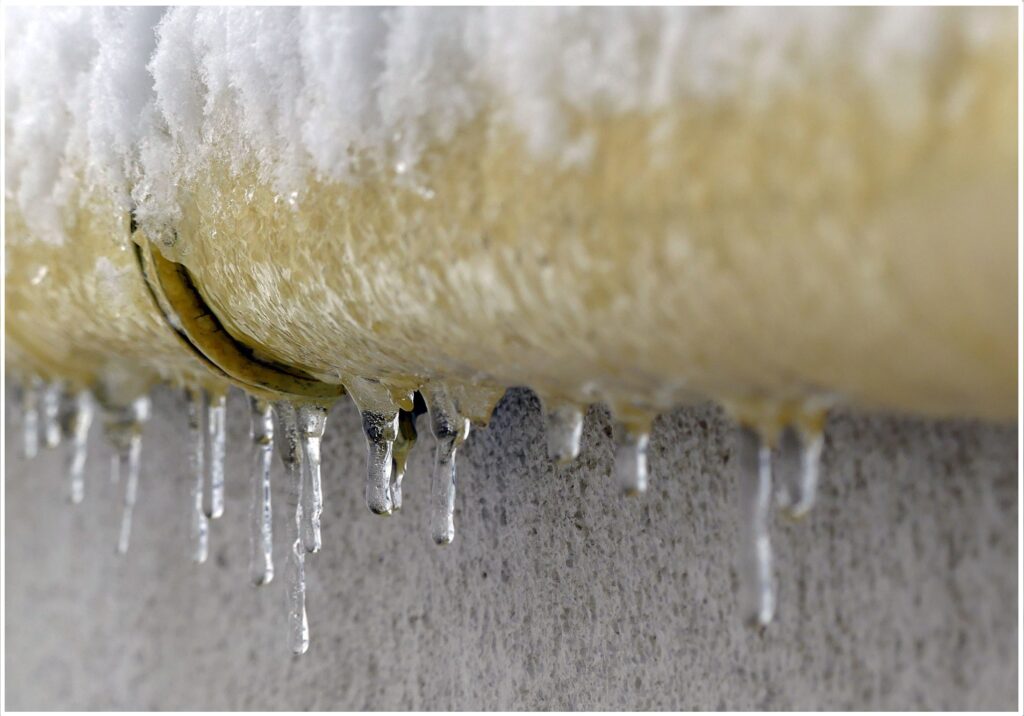
Why pipes burst: water expands as it freezes, pushing against the pipe wall until it gives. Even a hairline split can release hundreds of gallons in a day. Acting quickly limits structural saturation and reduces mold risk, which can begin within 24–48 hours.
Minute 0–15: Stop the Source and Make It Safe:
1) Shut off the main water supply
Find the main valve near the curb box or where the line enters your building. Turn it clockwise until it stops. If you cannot reach the main, close the local supply to the affected area.
2) Kill power where water is present
If water has reached outlets, appliances, or a basement panel, turn off electricity to that zone at the breaker. Do not step into standing water with power on.
3) Open faucets and relieve pressure
Open both hot and cold taps to drain remaining water. This reduces ongoing leakage from the break and helps thaw any residual freeze.
4) Document everything
Take timestamped photos and short videos of the source, rooms, and belongings. Capture ceiling stains, baseboards, flooring seams, and any buckling. These will help insurance adjusters understand the sequence and extent.
Minute 15–30: Contain and Start Controlled Drying:
5) Move and lift contents
Raise furniture on blocks or foil-wrapped wood shims. Slide plastic sheeting under rugs. Bag wet area rugs to prevent dye transfer and move them to a ventilated area.
6) Extract standing water
Use a wet/dry vacuum for shallow pooling. Push water to drains with a floor squeegee. Work from dry to wet to avoid spreading.
7) Promote airflow
Place fans to create a cross-breeze. Crack windows for humidity exchange if outdoor air is cold and dry. Avoid blasting heat; rapid surface heating without airflow can warp floors.
8) Remove what holds moisture
Pull off baseboard trim if water wicked behind it. Pop a few low drywall holes to release trapped water in wall cavities if they are saturated. Bag and discard soggy insulation. These “vent points” speed drying and help prevent hidden mold.
Minute 30–60: Triage, Measure, and Plan:
9) Map the wet areas
Use a simple moisture meter if you have one. Check sill plates, bottom 12–24 inches of drywall, subfloor edges, and under cabinets. Mark readings on painter’s tape so you can show a drying trend later.
10) Separate clean vs. contaminated water
If the burst involved a supply line, the water is generally clean. If it ran across soil, sewage lines, or older carpet pads, treat it as gray or black water and increase PPE and disposal precautions.
11) Decide what to salvage
Solid wood and tile tolerate professional drying. Swollen particleboard, laminate flooring, and padded carpet often delaminate and should be removed. Photograph before disposal.
12) Make the insurance call
Report the incident once the source is controlled. Provide the early documentation and a simple timeline. Ask about approved vendors and what demo they will cover to prevent mold.
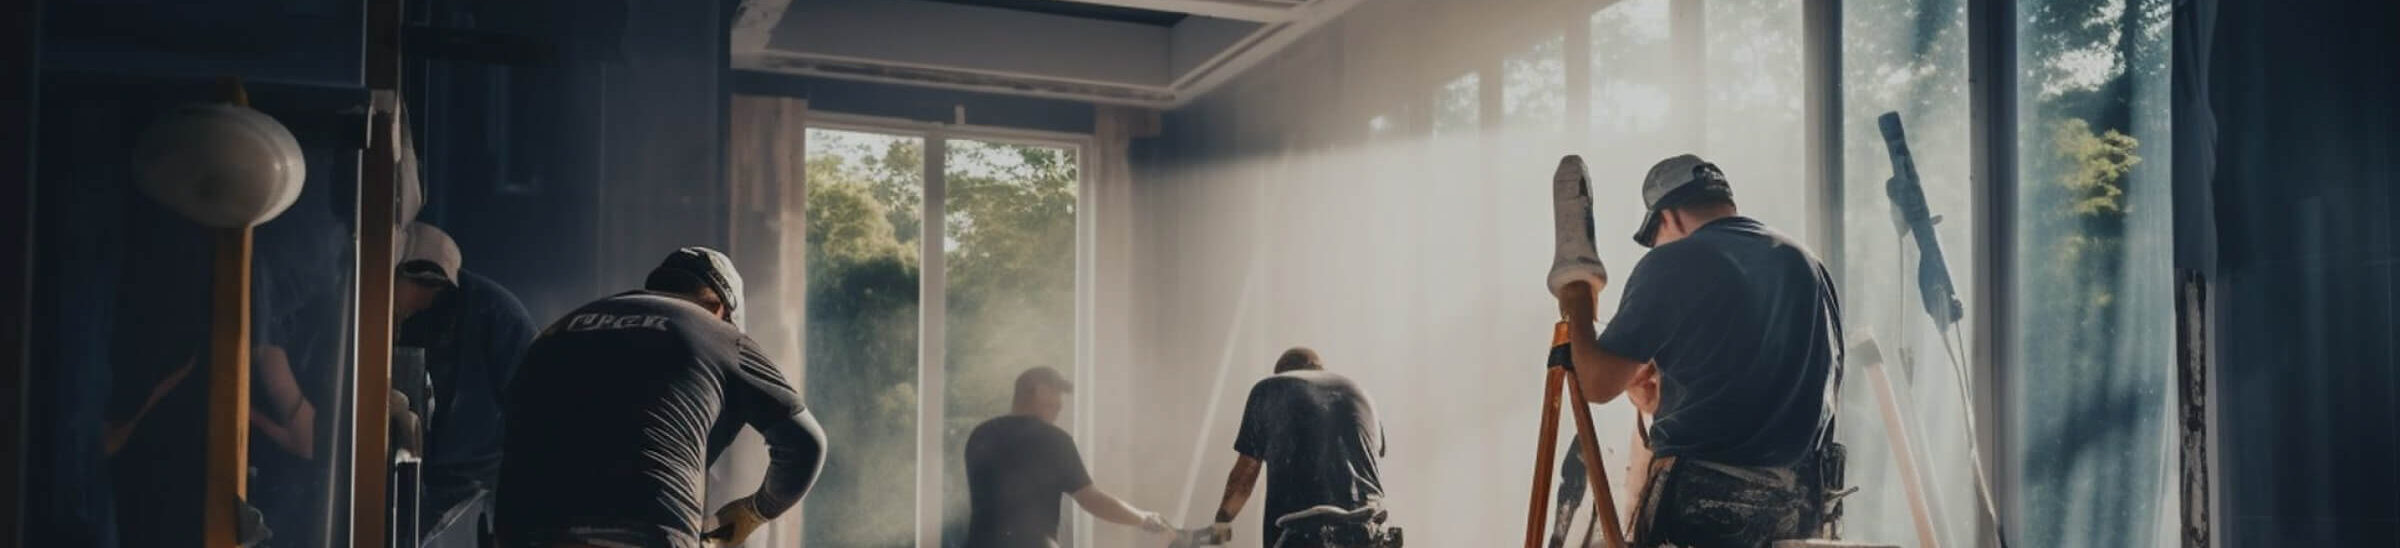
When to Bring in Pros and What They Actually Do:
Calling a professional water damage restoration service is not just about machines. It is about measurement, documentation, and a drying strategy that matches your building materials and climate.
What established water restoration companies bring:
Moisture mapping with calibrated meters and thermal imaging to find hidden pockets behind walls and cabinets.
Targeted demolition that removes what cannot be saved and preserves what can.
Controlled drying plans using air movers, dehumidifiers, and negative-air containment to stop cross-contamination.
Daily monitoring logs that show moisture dropping to dry-standard targets, which helps with insurance approval.
Special Notes for Different Audiences:
Homeowners and parents managing air quality
Act within the hour. Prioritize removing wet carpet pads and any damp materials in kids’ bedrooms or basements. Mold can start in a day. Ask your water remediation company about HEPA filtration if anyone has asthma.
Landlords, HOAs, and property managers
Create a standing winter protocol: labeled main-valve locations, a key list, and an after-hours vendor tree. Require tenants to keep heat at a minimum setpoint and to drip faucets during extreme cold. Save a template email for fast tenant notifications.
Real estate agents and active listings
Dry fast, then disclose well. Keep a log of actions taken, readings, and photos. A clean, documented water damage restoration record protects trust at closing.
Small businesses and clinics
Protect critical rooms first. Move files, instruments, or inventory above floor level. Use containment to keep patient-facing areas or kitchen prep zones open and clean.
How to Prevent a Repeat:
- Insulate vulnerable runs, especially in exterior walls, crawlspaces, and garages.
- Heat tape known problem sections with a thermostat controller.
- Seal draft points around hose bibs and sill plates.
- Install smart leak detectors and auto-shutoff valves on mains or at high-risk appliances.
- In deep freezes, drip faucets served by exterior walls and open cabinet doors to circulate warm air.
Prevention costs a fraction of repairs and keeps insurance claims off your record.
FAQs: Frozen Pipes and Burst Lines:
Q1. What should you do in the first 60 minutes when a pipe bursts in your home?
The first hour after a burst pipe is the most critical—fast, sequenced action is what separates a manageable repair from a weeks-long restoration project. Start immediately by shutting off the main water supply, turning it clockwise until it fully stops. If water has reached electrical outlets, appliances, or your breaker panel, cut power to the affected zone before stepping into standing water. Open all nearby faucets—both hot and cold—to drain remaining water from the lines and relieve pressure at the break. Once the source is controlled, document everything: take timestamped photos and short videos of every affected room, close-ups of damaged baseboards and flooring seams, and any ceiling stains. Then begin extracting standing water with a wet/dry vacuum and place fans to promote airflow. Pull baseboard trim if water has wicked behind it, and remove saturated carpet pads and insulation quickly—mold can begin developing in as little as 24 to 48 hours. Finally, call your insurer to report the incident and provide your early documentation and timeline. Speed and sequence in this first hour directly determine how far the damage spreads and how much the total repair will cost.
Q2. Can I keep drywall that got wet?
You can often save drywall that got wet less than 24 hours and is not contaminated if drying begins right away and moisture readings trend to normal. If the water wicked above 12–24 inches or the water was dirty, cut and replace it. Call a professional water damage restoration service for better results.
Q3. My roof is leaking. What should I do?
If your roof is leaking, move valuables away from the area, place a bucket to catch water, and safely contain the leak if possible. Then call a professional right away, because fast action can prevent bigger problems and reduce the need for extensive water damage restoration.
Q4. What should I tell my insurance adjuster first?
Share the timeline: when you discovered the leak, when you shut off water, immediate steps taken, and initial photos. Ask about covered mitigation, approved vendors, and documentation they need to speed settlements.
Final Thoughts:
In the first hour after a burst, speed and sequence matter. Shut off water, make the area safe, start controlled drying, and document everything. Bring in a trusted water damage restoration pro when readings or materials are beyond DIY, and put simple prevention in place so it doesn’t happen twice.